Screenshots manager
A screenshots manager is available in the PySisyphe interface from the Screenshots tab of the central area.
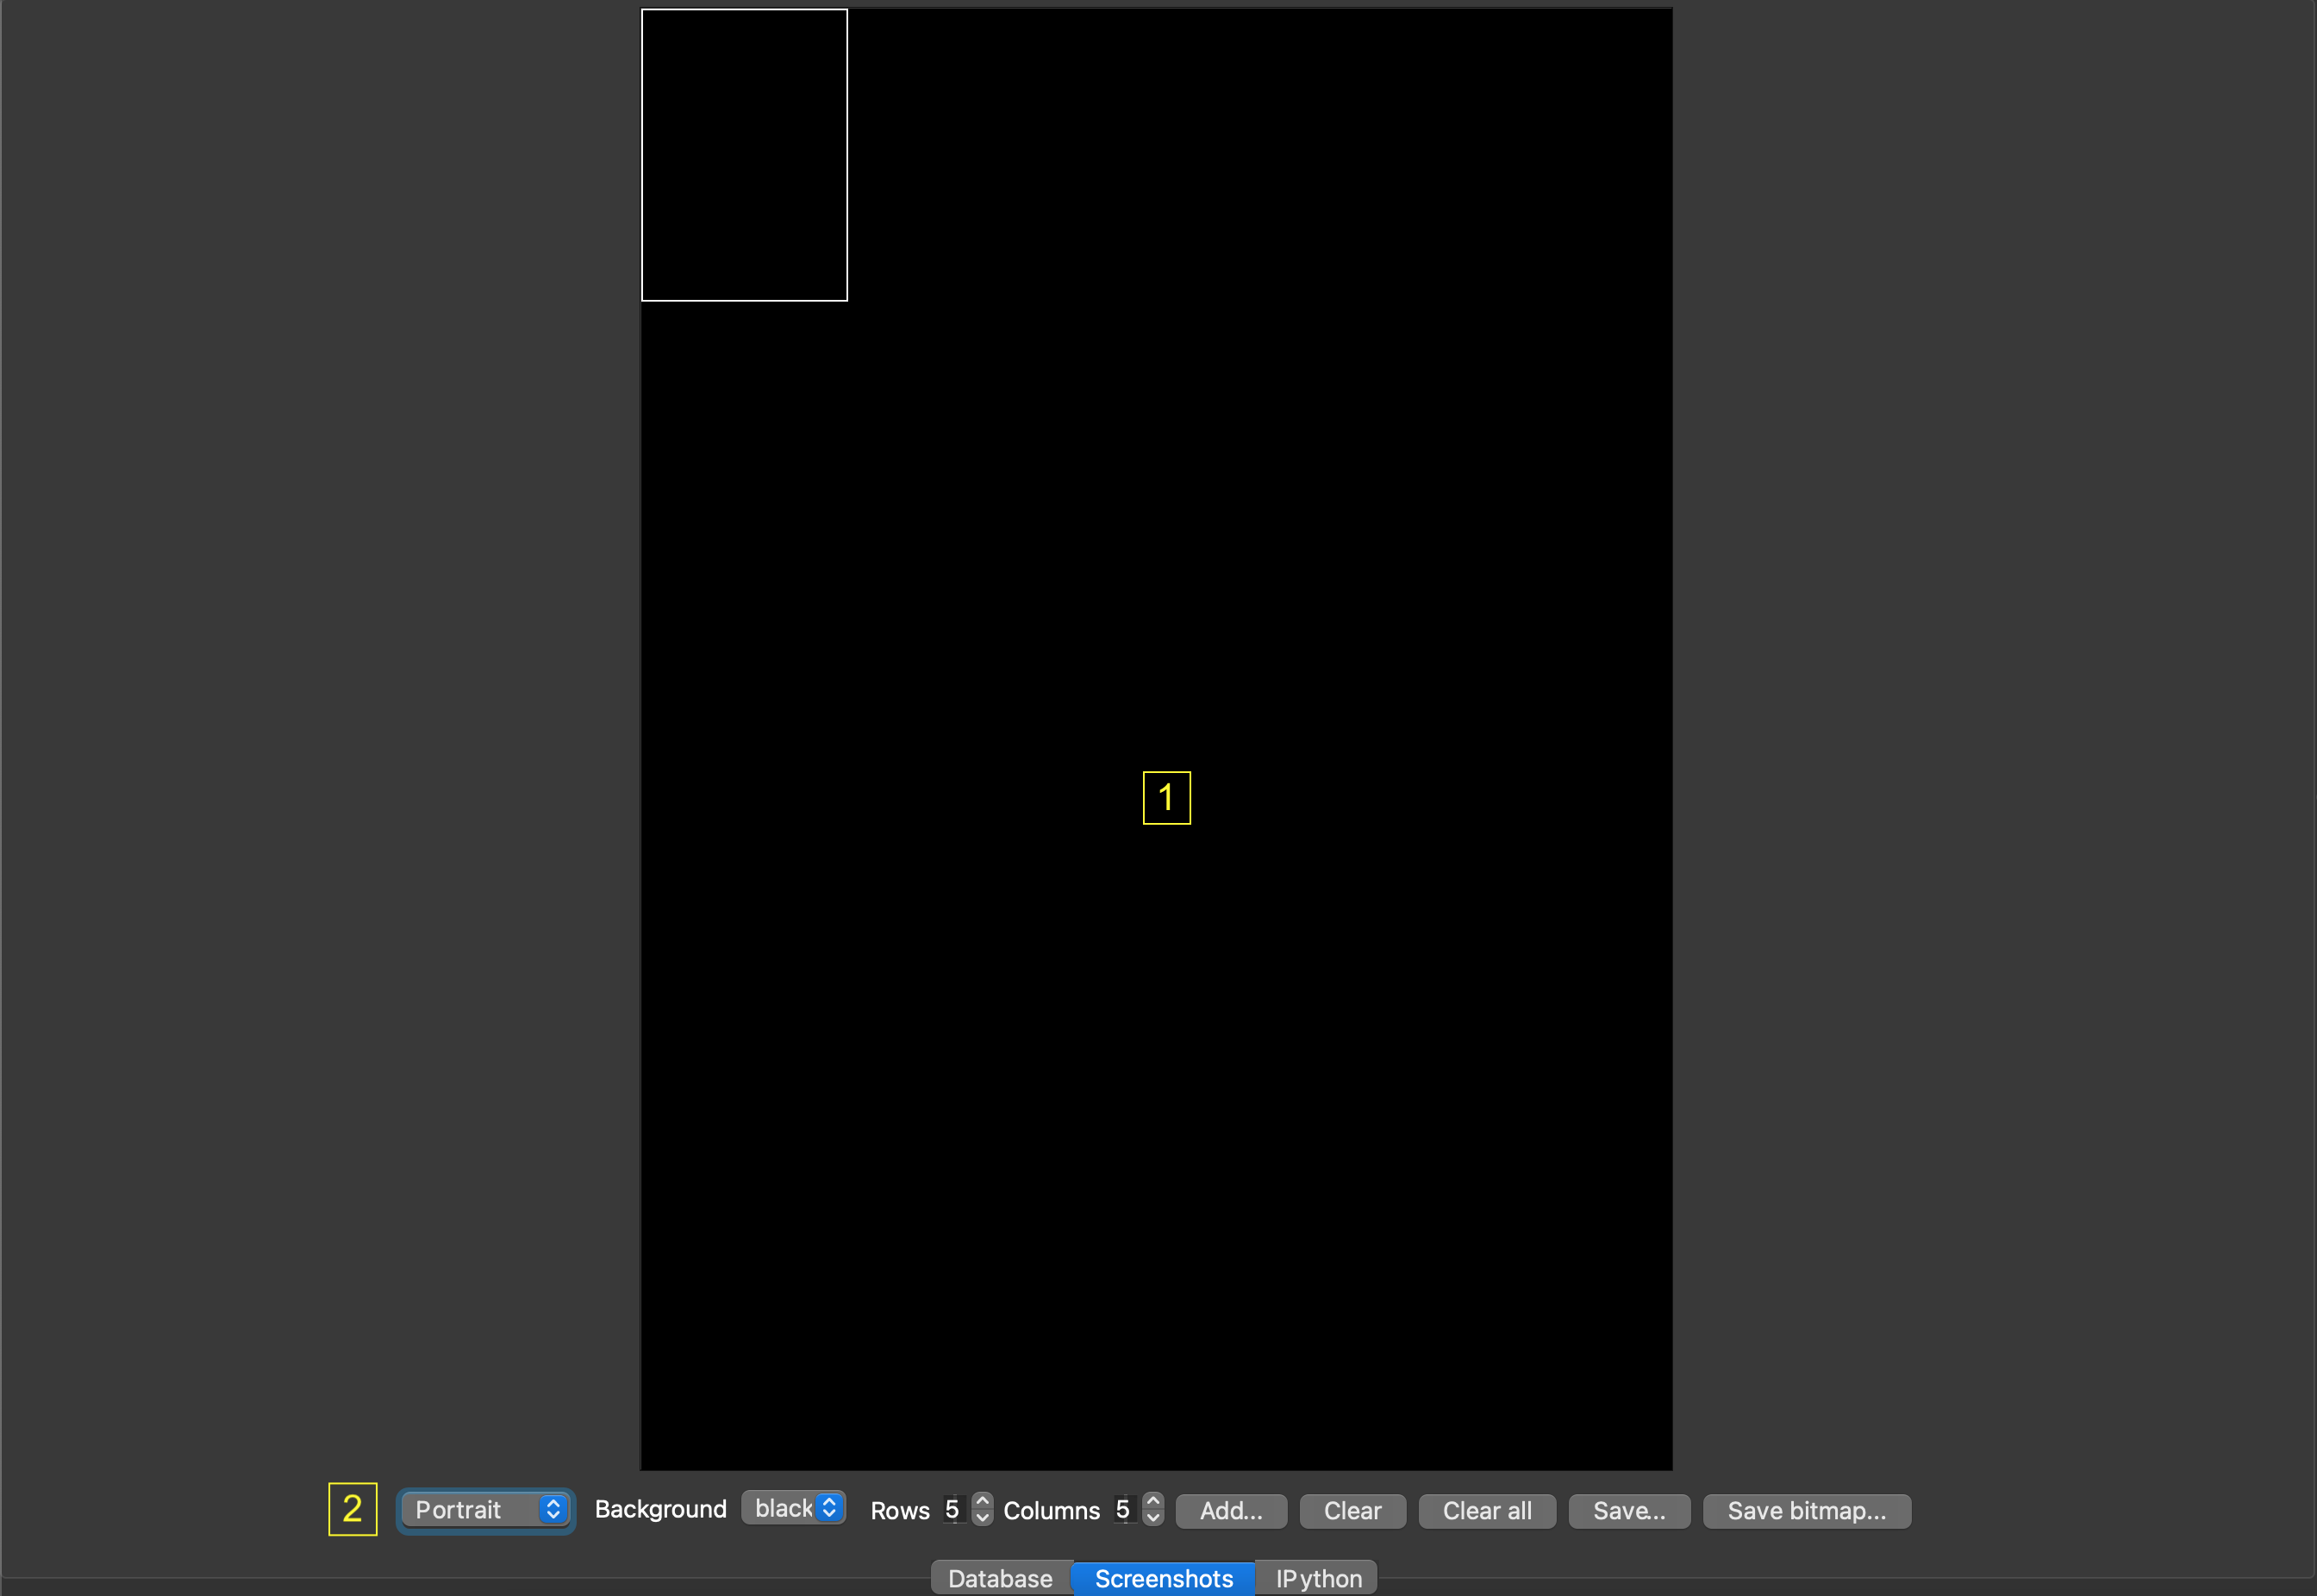
A preview area for the screenhot grid is displayed at the top (1). The selected grid cell is framed in blue. Left-click in the preview area to select a cell. Preview area supports drag-and-drop between cells and from File Explorer on Windows platform or Finder on MacOS platform for bitmap files.
Nine buttons on the bottom (2):
Combobox to choose page orientation (Portrait or Landscape)
Background color (“Black” or “White”)
Number of grid rows and columns (from 1 to 5)
Add, add a bitmap from disk (BMP, GIF, JPG, PBM, PGM, PNG, SVG, TGA, TIFF, WEBP, XBM, XPM)
Clear, clear the selected cell.
Clear all, clear the preview.
Save…, save screenshot grid (PDF, HTML or Word .docx formats)
Save bitmap…, save screenshot grid as bitmap (BMP, GIF, JPG, PNG, TIFF, WEBP formats)
Right-click on a cell of the preview area to display a popup menu:
Copy, copy the bitmap of the current cell to clipboard.
Cut, cut the bitmap of the current cell to clipboard.
Paste, paste the clipboard to the current cell.
Add bitmap(s)…, add a bitmap from disk (BMP, GIF, JPG, PBM, PGM, PNG, SVG, TGA, TIFF, WEBP, XBM, XPM)
Clear selected, clear the selected cell.
Clear all, clear the preview.
Orientation, choose page orientation (Portrait or Landscape).
Row count, choose row count (from 1 to 5).
Column count, choose column count (from 1 to 5)
Save bitmap…, save screenshot grid as bitmap (BMP, GIF, JPG, PNG, TIFF, WEBP formats)
Save…, save screenshot grid (PDF, HTML or Word .docx formats)
The same menu is available via the menu bar (Views -> Screenshots).