Projection view widget
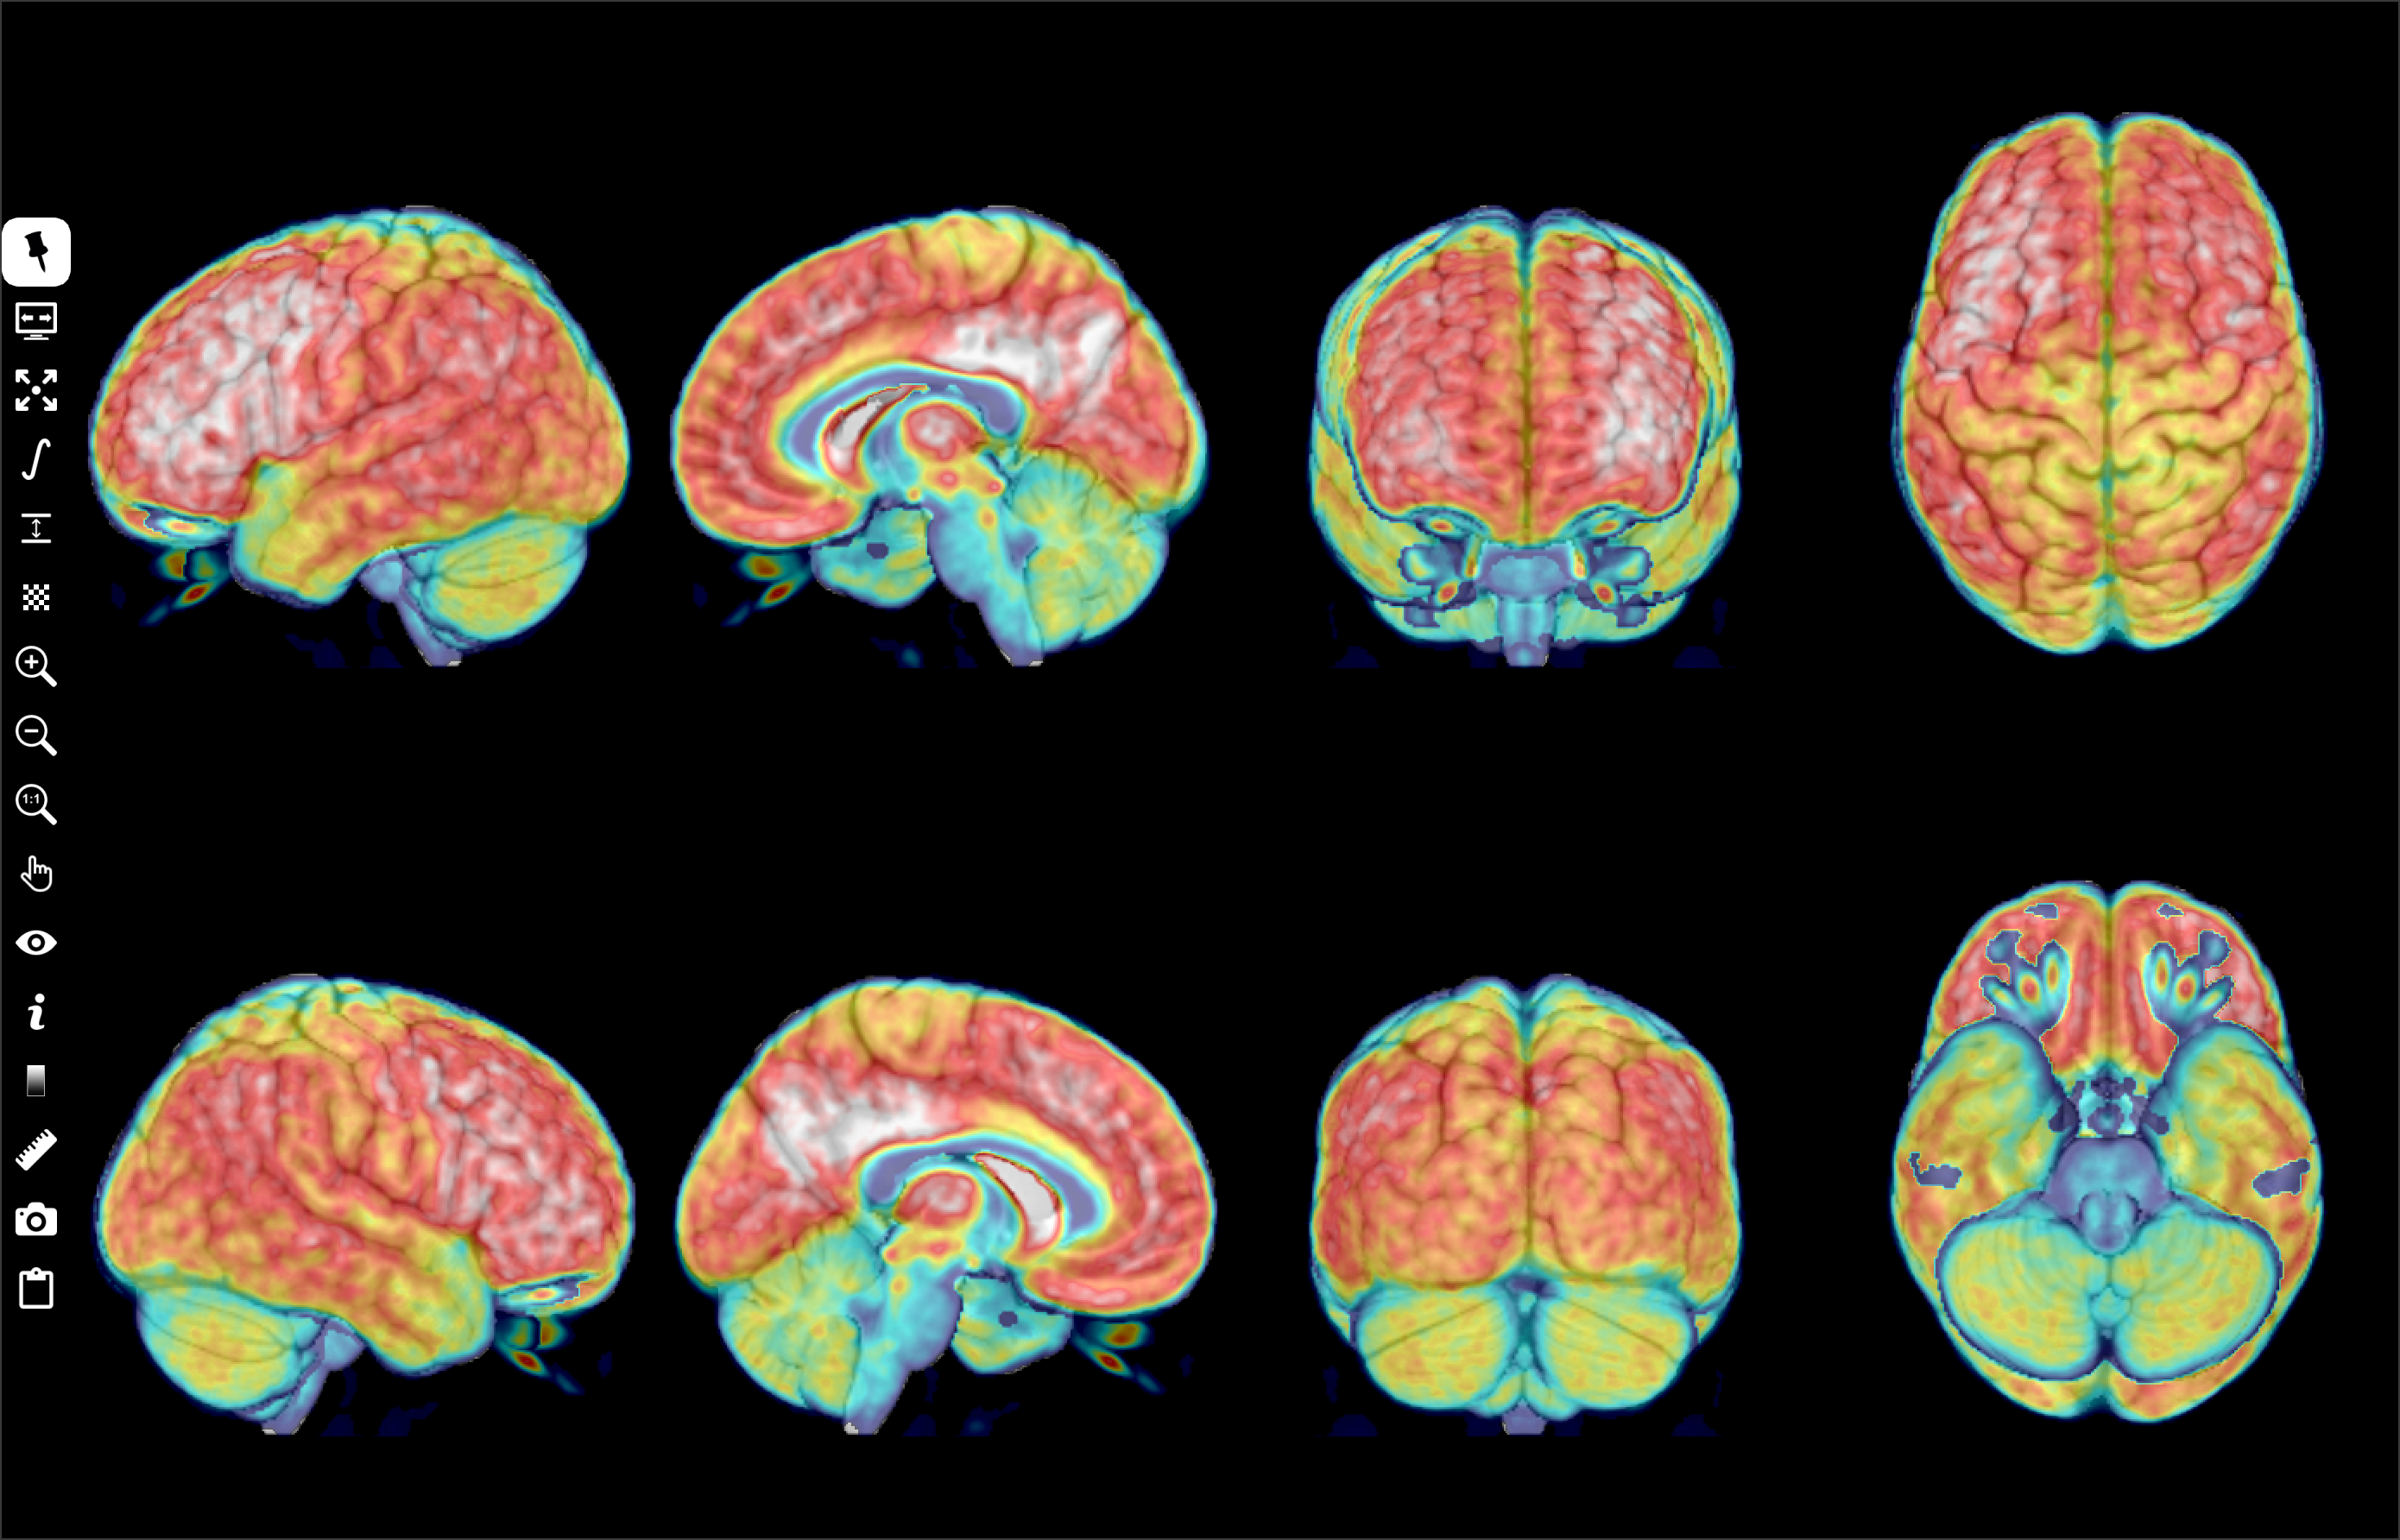
This widget, placed in the central area, displays a reference volume in a grid of fixed (non-interactive) 3D projections in left, right, mid-left, mid-right, cranial, caudal, anterior and posterior orientations.
If the reference volume is in ICBM152 space, it is overlaid on pre-calculated 3D projections of the asymmetric ICBM152 3D T1 template.
Left-click to select the slice in a grid cell. Some controls can be applied only to a selected cell. This cell is outlined in white.
Controls
MouseWheel + CTRL key (CMD key MacOS platform) to change zoom,
Up or Left + CTRL key (CMD key MacOS platform) to zoom out,
Down or Right + CTRL key (CMD key MacOS platform) to zoom in,
Left-click + CTRL key (CMD key MacOS platform) and drag to change zoom,
Left-click + ALT key and drag to pan,
Left-click + SHIFT key and drag to change window/level,
Right-click + CTRL key (CMD key MacOS platform) or middle-click to display popup menu.
Icon bar
Projection view widget includes a vertical icon bar to the left:

Left-click to select/unselect. When this button is unselected, the icon bar is hidden when the mouse cursor leaves it. The icon bar is displayed when the mouse cursor is moved to the left border of the grid. If this button is selected, the icon bar is always visible.

Left-click to select/unselect. Toggle between full-screen and normal display modes. In full-screen mode, the slice view widget is extended to the full screen. Press F11 or ESC key to exit full-screen mode.

Left-click to select/unselect. Expand the selected cell to the whole widget surface (+ shortkey).

Left-click to display a menu and select the method used to accumulate signal in the thickness of the projection (depth in mm below the outer surface): maximum, mean, median, standard deviation.

Left-click to display a menu and edit the depth in mm below the outer surface used to calculate projection.

Left-click to display a menu and edit the opacity of the reference volume (0.0 transparent, 1.0 opaque). Left-click on the slider to increment or decrement the opacity by ten percent. There are also keyboard shortcuts for the slider. The left or up arrow keys decrement the opacity by one percent. The right or down arrow keys increment the opacity by one percent. The PageUp key decrements the opacity by ten percent. The PageDown key increments the opacity by ten percent. The Home key sets the opacity to zero percent (transparent). The End key sets the opacity to one hundred percent (opaque).

Left-click to zoom in (CTRL Up shortkey or CTRL MouseWheel).

Left-click to zoom out (CTRL Down shortkey or CTRL MouseWheel).

Left-click to apply default zoom (0 shortkey).

Left-click to display a menu and choose an action mode:
Move, move the slice viewpoint by pressing the left mouse button and dragging.
Zoom, change the zoom factor by pressing the left mouse button and dragging.
Level/window, change the window thresholds by pressing the left mouse button and dragging.
Centered cursor, in this mode, slice viewpoint is moved and centered on the point clicked with the left mouse button.
No action, exit previous action mode.

Left-click to display a menu and set widget visibility.
Information (i shortkey), information visibility. Various information can be displayed in each corner of the cell (type of information is selected with
 button).
Orientation labels (l shortkey), orientation labels visibility: L (left), R (right), S (superior), I (inferior), A (anterior), P (posterior).
Colorbar (b shortkey), colorbar visibility (select colorbar position with
 button).
Tooltip (t shortkey), tooltip visibility.
Show all, show all widgets.
Hide all, hide all widgets.
Line/font properties (p shortkey) to edit line properties (line width in pixels, color and opacity) and font properties (font name, size and scale factor).
Left-click to display a menu and select the type of information displayed, if
information is checked.Identity, patient identity (firstname, lastname, birthdate) at top-left corner.
Image attributes, image attributes (ID, matrix size, field-of-view, voxel spacing, datatype) at top-right corner.
Acquisition attributes, acquisition attributes (orientation, modality, sequence, date of scan) at bottom-left.
Anatomy label at cursor position, gyrus name and brodman area under the mouse position.
Left-click to display a menu and select the colorbar position: left, right, top or bottom border.

Left-click to display a menu to add an interactive tool.
Distance, used to measure the distance in mm between two points. Left-click in the view widget to position the two endpoints. Left-press and drag to move the endpoints. Right-click on distance label to display popup menu to select color or delete tool.
Orthogonal distances, used to measure two orthogonal distances in mm. Left-click in the view widget to position the four endpoints. Left-press and drag to move the endpoints. Right-click on distance label to display popup menu to select color or delete tool.
Angle, used to measure angle in degrees between two lines. Left-click in the view widget to position the three endpoints. Left-press and drag to move the endpoints. Right-click on angle label to display popup menu to select color or delete tool.
Remove all, remove all tools.

Left-click to display a screenshots management menu:
Save grid capture…, take a screenshot of the slice view.
Save selected view capture, take a screenshot of the selected cell (outlined in white, SPACE shortkey)
Send selected view capture to screenshots preview or shortcut key SPACE, take a screenshot of the selected cell and copy it to the screenshot manager.

Left-click to display a menu to take screenshot and copy it to the clipboard.
Copy grid capture to clipboard, take a screenshot of the slice view and copy it to the clipboard.
Copy selected view capture to clipboard, take a screenshot of the selected cell and copy it to the clipboard.